San Francisco Love Evolution, formally LoveFest, formally Love Parade. This past weekend the sixth SF Love Parade was held, with yet another new name, but the same great music and people.
You can check out the pictures from the event.
San Francisco Love Evolution, formally LoveFest, formally Love Parade. This past weekend the sixth SF Love Parade was held, with yet another new name, but the same great music and people.
You can check out the pictures from the event.
Workflow workflow workflow.
A photo processing workflow is a process that you follow after you have taken the pictures. It should be straight forward and allow you spend time working on the photos, not the organization of the photos. My main goal was to create a workflow that was easy to reproduce, something I could do while traveling, and would leave me with files that I could identify and use years later with the minimal of work. All of this pre-processing is done before I actually do any editing or reviewing of pictures I’ve taken. That stage comes after doing this prep work.
Included below is the workflow I use to prep my photos for actual editing. I do a small number of things across both linux and windows boxes to prep my photos after taking them. I’ve attempted to convert all the tools used below for use in a single windows environment. Most of these tools are PERL programs, so installing a perl interpreter will allow you to run the original source. Links to all the tools are included at the bottom of the article.
A straight forward file system format was the first stage. So I keep all my images stored in individual directories, by date. A directory for every year, and a sub directory for every “shoot”. Where a shoot can be as short as a day, or as long as about a week. Within this primary shoot directory are additional subdirectories used to store different data. I create a “RAW” directory to store straight from the camera files, a “DNG” directory where I store Digital Negatives (DNG) versions ,a “JPG” directory for JPG images that come straight from the camera , a “GPS” directory to store gps tracking info, in GPX format for right now, and a “WEB” directory containing post processed ready for posting images for websites. In addition to these directories I will create a “notes.txt” file and include information about the shoot, timezones, mistakes, and general notes about the images. The end results is something that looks like this:
2009/
2009/2009-06-02 Half Moon Bay/
2009/2009-06-02 Half Moon Bay/DNG/
2009/2009-06-02 Half Moon Bay/DNG/20090602-1405-32162.dng
2009/2009-06-02 Half Moon Bay/DNG/20090602-1412-32163.dng
2009/2009-06-02 Half Moon Bay/GPS/
2009/2009-06-02 Half Moon Bay/GPS/20090602.gpx
2009/2009-06-02 Half Moon Bay/JPG/
2009/2009-06-02 Half Moon Bay/RAW/
2009/2009-06-02 Half Moon Bay/RAW/_MG_2162.cr2
2009/2009-06-02 Half Moon Bay/RAW/_MG_2163.cr2
2009/2009-06-02 Half Moon Bay/WEB/
2009/2009-06-02 Half Moon Bay/WEB/20090602-1405-32162.jpg
2009/2009-06-02 Half Moon Bay/WEB/20090602-1412-32163.jpg
2009/2009-06-02 Half Moon Bay/WEB/index.html
I’ve chosen to use DNG files over RAW files, an open format for my negatives, that also supports metadata. I keep the originals in a separate directory, as opposed to embedding them, so that I have completely unaltered copies. Keeping both a DNG and a RAW doubles my storage requirements for pictures. With the current cost of storage being so low, I keep both. Keeping all your files organized is important in this situation, as having too many files in random locations is as good as not having them at all.
I also chose to use DNG so that all metadata gets embedded into the DNG file. As I add GPS info, keywords, or IPTC data, it all gets written back out into the file. This keeps all the custom data in the actual file, and not located in a XMP sidecar, or similar. I do this so that if in the future I need to switch software tools, the new tool should be able to read all the metadata out of the files directly.
So how do I do all this?
gpsPhoto --dir . --gpsdir ../gps/ --timeoffset 0 --geoinfo geonames --overwrite-geotagged --city auto --sublocation auto --state auto --country autoThis will automatically take the GPX file from the GPS directory, write the latitude/longitude coordinates into the DNG, and then make best guesses at location, and write that into the IPTC section of the DNG.exiftool -AllDates-=8:00 -overwrite_original *dngexiftool "-filename<${CreateDate}-$filenumber.%e" -d "%Y%m%d-%H%M" *dngOn my Canon 20D, this produces files that look like this – “20090705-1202-327-2721.dng”. I run a small custom program which merges the last numbers into a single 5 digit number, and the file becomes – “20090705-1202-32721.dng”. This results in the Date-Time-Img# filename that is unique and “relatively” compact in length. Source/binary for this is provided below.After all this is done, we now have a directory filled with DNG files ready for processing. It takes about 10-20 minutes to do the above steps and I try to do it daily when traveling to make sure I have gps tags and locations on everything.
Later, anywhere from later that day, to weeks later, I will go through and in multiple passes cull down the pile of shots to 1/10 or similar number of shots that I want to do more changes to. This is done in simple two stage system. Initially scanning through all the pictures and marking interesting ones with one star in Bridge if they look good, or I want to edit them. This usually cuts out 50-75%, and I try to spend less than 10 seconds judging an image. The idea is to cut out all the obvious ones you are not going to spend any time on. After the first quick pass, I make a second pass just on the ones that are marked with one star. This pass is longer, and I’ll spend time playing around with an image to determine which shot I like. Photos that I decide to keep, I’ll mark with a second star. I may have done some minor work with camera raw at this point (cropping, basic levels).
Following this two pass method, I then go through and crop/level all the two star photos in camera raw or lightroom. Most of the time this is enough editing and I post the resulting images online. In my next blog entry I’ll update how I use “TravelGen” to create static travel log pages with my images.
Software:
ExifTool is the swiss army knife of metadata modifications. Download the zip file, unzip, and copy the executable into “c:\windows”.
gpsPhoto. This is optional and allows you to add GPS coordinates to your pictures. It needs a one line change to recognize DNG files. This change is included the binary version I compile. Win32 Executable that you can use if you are running on a windows environment.
ImageMagick. Download the the Q16-windows-dll version. Run the installer, and make sure to install the activestate libraries (this is unchecked by default, so will require you to select it). My experience is you need to reboot or the libraries don’t get recognized by other programs properly.
TravelGen. This is a tool I created that generates static web pages of thumbnails and text. It was originally developed so that I could build web pages with image thumbnails and have a travel log mixed in, and make it fast to load (completely static). It provides a number of simple customizations, and I still use it today. I’ll document this in my next Technical Tip page.
I used to play paintball quite a bit, now I only get a couple games in a year. However, I still make time to go play at the Michigan Monster Game, which is about an hour outside of Detroit. I played this with a group of local guys out of Pittsburgh PA, Riverside Renegades, when I lived there. Now I fly out and meet up for a huge weekend of paintball.
I took some pictures on the field and off. Go take a look.
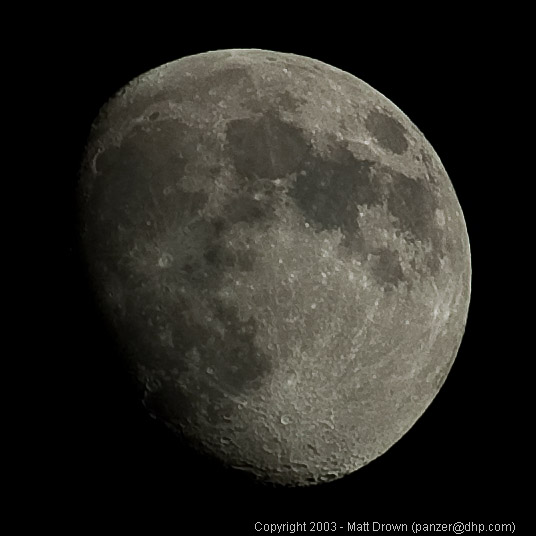
In celebration of anniversary of the Apollo 11 mission, here’s a shot I took a number of years ago.


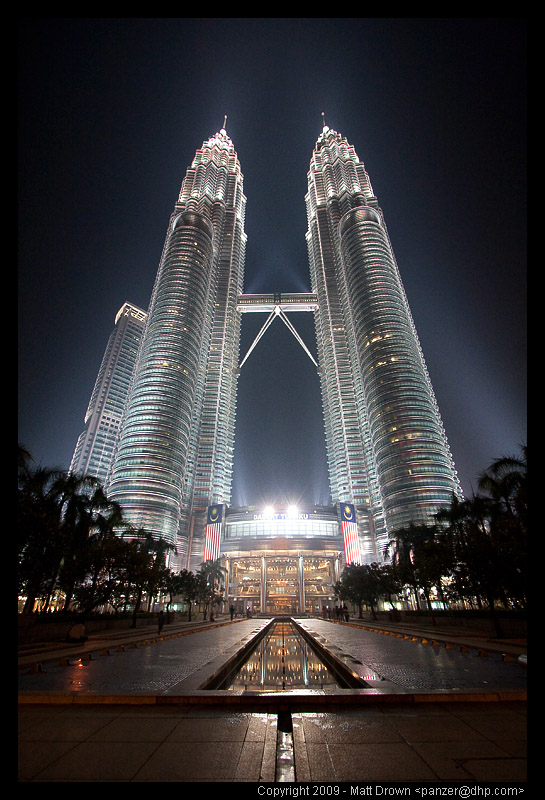
Going through my photos from Asia I came across this shot I took in Kuala Lumpur, of the giant Petronas Towers. This is straight out of the camera, with only sharpening done for the resized version. This was done handheld, late in the evening, with the fog/smog providing a nice halo around the building. Unfortunately I was only able to stay in KL for about 24 hours, so I wasn’t able to go up in the towers, only take pictures from the ground. Hope you enjoy picture, more soon.
I just got back from a three month work stint in Asia. I was based in Singapore, but travelled around the area a bit and got to see China, Japan, Indonesia, Malaysia, and Korea. Some for a short time, some for a longer time.
All of this time was spent living in hotel rooms and carting around luggage. Unfortunately I had to do work during this period also, so it wasn’t three months of vacation. Lots of good food, and an overall good experience.
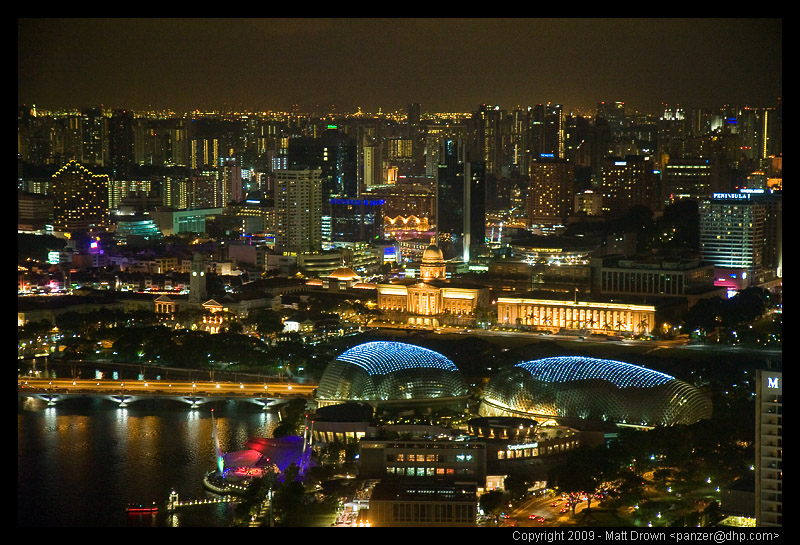
I did manage to take pictures during my free time, and I’m sorting through them now. To whet the appetite, here’s a night shot from the Singapore flyer.
